How To Clean Home Glass Windows In 5 Simple Steps
Nothing is more annoying than gazing through a dirty window, where the outside world is obscured by streaks, dirt, and dust. In addition to obstructing valuable sunshine, these unattractive blemishes diminish the overall appeal of our houses.
Even though cleaning windows isn't the most glamorous task, the benefits - bright, spacious spaces with unhindered views - make the effort worthwhile. You will be able to overcome window filth and attain a streak-free shine with the help of the methods and tips provided here.
Homemade Window Cleaning Solution
Despite their convenience, commercial window cleaners can be expensive and can include harsh chemicals that are bad for the environment and possibly damaging to your health. Fortunately, inexpensive and environmentally friendly alternatives to traditional window cleaning solutions may be made with everyday household items.
- Vinegar and Water:This is the most common and basic solution. Mix equal parts white vinegar and warm water in a spray bottle. The vinegar's acidity cuts through grime and leaves a streak-free shine.
- Lemon Juice and Water:Similar to vinegar, lemon juice is a natural acid that cleans well. Mix 1/4 cup of lemon juice with 2 cups of water in a spray bottle. This option offers a pleasant citrus scent.
- Dish Soap, Vinegar, and Water:Add a few drops (no more than 1/2 teaspoon) of liquid dish soap to a mixture of 1/4 cup white vinegar and 2 cups of water. The soap helps break down grease and grime, but too much will cause suds and streaks.
- Rubbing Alcohol, Vinegar, and Water:Combine 1/4 cup rubbing alcohol, 1/4 cup white vinegar, and 2 cups of water. The alcohol helps the solution dry quickly and adds extra cleaning power for tough stains.
- Cornstarch, Alcohol, Vinegar, and Water:Mix 1/4 cup rubbing alcohol, 1/4 cup white vinegar, 1 tablespoon cornstarch, and 2 cups water. The cornstarch acts as a mild abrasive to help remove stubborn dirt, but requires thorough rinsing.
It's wise to test any homemade solution on a small, discrete area before using it on all of your windows. By taking this care, potential harm to fragile surfaces or finishes is reduced.
It's also crucial to remember that some do-it-yourself solutions might not work on tinted windows, so it's best to check the instructions provided by your window maker. This is especially important as part of your seasonal maintenance, as different weather conditions can affect window materials and how they react to cleaning agents.
Simple Tools For Cleaning Windows At Home
You don't absolutely need all the high-end equipment to clean windows at home. The following list of resources will help you create brilliant windows without going over budget:
Essentials
- Squeegee:A good quality squeegee is key for streak-free results. Look for one with a comfortable handle and a replaceable rubber blade. A 10-14 inch squeegee is a good size for most home windows.
- Microfiber Cloths:These are essential for wiping edges, corners, and any drips. They are far superior to paper towels or regular cloths as they are highly absorbent and lint-free. Have several on hand so you always have a clean, dry one.
- Bucket or Spray Bottle:A bucket is useful for larger jobs and for dipping a sponge or applicator. A spray bottle works well for smaller jobs and for applying cleaning solution directly to the window.
- Sponge or Applicator:A sponge or a microfiber applicator (similar to a small T-bar) is used to apply the cleaning solution to the window.
Helpful Extras
- Extension Pole:If you have hard-to-reach windows, an extension pole that can attach to your squeegee or applicator is a worthwhile investment. This allows you to clean upper-story windows safely from the ground.
- Scraper (with caution):A scraper can be helpful for removing stubborn debris like dried paint or stickers. However, use it with extreme care to avoid scratching the glass. Use a scraper specifically designed for windows and always use it with a lubricant (like soapy water) to minimize the risk of damage.
- Small Brush or Old Toothbrush:These can be useful for cleaning window tracks and frames.
Things To Avoid
- Paper Towels:These leave lint and streaks.
- Abrasive Scrubbers:These can scratch the glass.
When cleaning your windows at home, you may get results that seem professional by utilizing these products and the right cleaning methods.
Read Also: Window Companies Setting Industry Standards
Clean Your Window In Five Simple Steps
Step 1 - Prepare Your Cleaning Arsenal
Get your supplies together first. Setting the stage for effective cleaning is this easy step. Two buckets are required: one with warm water and a small spray of dish soap - not a full pump - instead. Our window washing adversaries, suds and stains, are produced by using too much soap.
Clean, cold water for rinsing should be in the second bucket. By keeping your rinse water clean, this two-bucket method saves you from re-spreading dirt onto the glass.
Step 2 - Unleash The Cleaning Power
Put a folded towel or an old cloth under the window you're going to clean to protect your windowsill. This barrier collects drips and keeps your interior surfaces safe from water damage. Apply the soapy water to the window now with a fresh microfiber cloth or a special window cleaning mitt.
Work methodically, either from left to right and then down, or from top to bottom and then across. By using this method consistently, you can make sure that every inch of the glass is covered. To completely remove the dirt from windows that have a lot of grit, continue this process with fresh soapy water.
Step 3 - The Crucial Rinse
Although it's sometimes disregarded, this step is crucial for a finish free of streaks. Rinse the window with a fresh microfiber towel and the bucket of cold, clean water. If you were washing, follow the same methodical pattern: top to bottom, then across, or left to right, then down.
This leaves a clean, damp surface that is prepared for the squeegee by eliminating any remaining soapy water residue. The streaking is lessened by the cold water. During this process, any drips will be promptly caught by the towel beneath the glass.
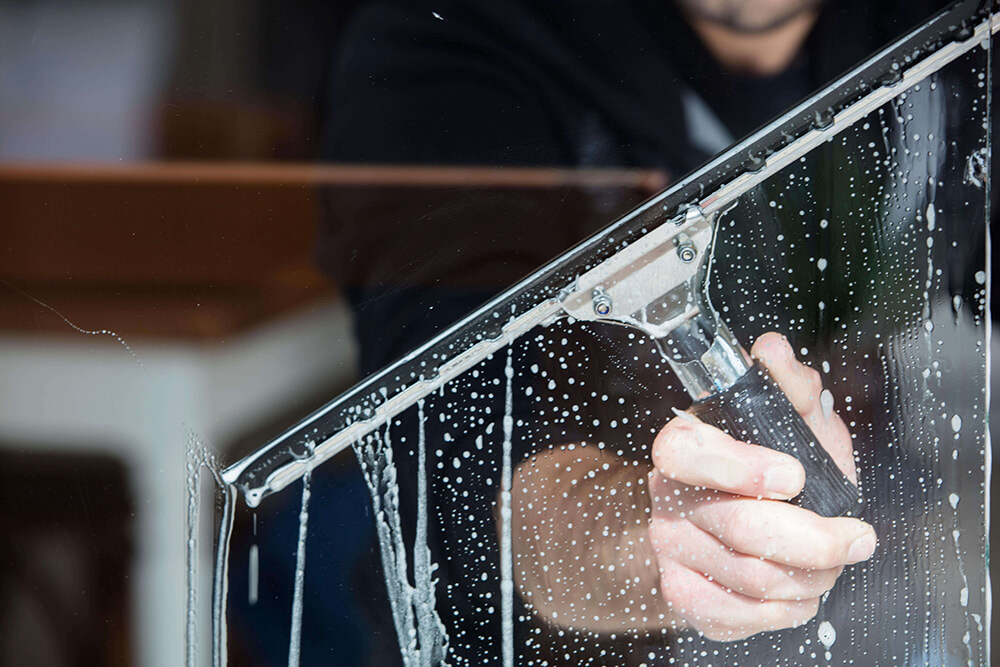
Step 4 - The Squeegee Stroke Of Genius
The squeegee, the magic touch, comes next. Start at the upper corner of the window and hold the squeegee at a small angle. Using a single, continuous stroke, smoothly draw the squeegee blade down the glass. To prevent gaps, overlap each stroke by approximately one inch.
After every stroke, use a dry microfiber cloth to wipe the squeegee blade. By doing this, soiled water cannot be re-deposited onto the spotless glass. To guarantee a tidy, spotless finish with no water or streaks left behind, work inside the window frame.
Step 5 - The Finishing Touches
Once the squeegeeing is finished, clean the windowsill, frame, and any leftover water around the glass's borders with a different, dry microfiber towel. Keep an eye out for areas where water tends to collect, such as corners and cracks. A thorough drying guarantees a polished appearance and avoids water stains.
After this window is finished, transfer the protecting towel to the next window and follow step one again. With this methodical approach, all of your windows will be shining in no time.
See Also: How To Choose Affordable House Windows
How to remove hard water stains from windows.
Cleaning Stubborn Stains
Hard water stains, mineral deposits, and sticky residue are examples of stubborn stains on glass windows that need a little more care than normal cleaning. Use these five steps to address these challenging marks:
Step 1 - Identify The Enemy
Before you begin, identify the type of stain you're working with. This will help you select the most effective cleaning procedure.
- Hard Water Spots:These appear as white, chalky deposits caused by mineral buildup from hard water.
- Mineral Deposits:Similar to hard water spots but can be more ingrained and may have a slightly different color depending on the minerals present.
- Sticky Residue:This can come from stickers, tape, tree sap, or insect droppings.
Step 2 - Pre-Treatment Is Key
Most tenacious stains require pre-treatment of the area. This loosens the dirt, making it easier to remove. Here are a few options:
- Vinegar Soak:For hard water spots and mineral deposits, soak a cloth or sponge in white vinegar and apply it to the stained area. Let it sit for 15-30 minutes, or even longer for particularly stubborn stains.
- Baking Soda Paste:For more stubborn mineral deposits, create a paste of baking soda and water. Apply the paste to the stain and let it sit for a few minutes before scrubbing.
- Oil-Based Solution:For sticky residue, try using a small amount of oil, such as baby oil, cooking oil, or even peanut butter. Apply the oil to the residue, let it sit for a few minutes to soften the adhesive, and then wipe it away.
Step 3 - Gentle Scrubbing Action
After pre-treating, it's time to scrub. However, it's crucial to use gentle scrubbing methods to avoid scratching the glass.
- Non-Abrasive Sponge or Cloth:Use a soft sponge, microfiber cloth, or a non-scratch scrub pad. Avoid steel wool or abrasive scrubbers, as these will scratch the glass.
- Circular Motions:When scrubbing, use gentle circular motions to loosen the stain.
- Razor Blade (with extreme caution):A razor blade scraper can be used to remove highly tough, flat residues such as dried paint, but only by someone who is familiar with the procedure. If done incorrectly, the glass might easily be scratched. Hold the blade at a very low angle, then wet the glass with soapy water or lubrication. If you are unsure, avoid this procedure.
Step 4 - Rinse And Repeat (if Necessary)
After scrubbing, thoroughly rinse the area with clean water to eliminate any leftover cleaning solution or loose debris. If the stain remains visible, repeat the pre-treatment and scrubbing steps. Multiple treatments may be required for very persistent stains.
Step 5 - The Final Polish
Once the stain is removed, squeegee the window as you normally would, using overlapping strokes and wiping the blade clean after each pass. Finally, use a clean, dry microfiber cloth to wipe down the edges and corners for a streak-free finish.
Frequently Asked Questions
What Is The Ideal Time Of Day To Clean Windows?
Overcast days provide the best conditions for window cleaning. The absence of direct sunlight prevents the cleaning solution from evaporating too rapidly, which can cause streaks.
Are Paper Towels Suitable For Cleaning Windows?
Paper towels are not recommended for cleaning windows. They tend to leave behind lint and streaks, detracting from the desired shine. Microfiber cloths are a far superior alternative.
What Is The Recommended Method For Cleaning Window Screens?
The recommended method for cleaning window screens involves removing them from the window frame and brushing away loose dirt and debris.
How Can I Remove Hard Water Stains From Windows?
White vinegar is an effective remedy for hard water stains on windows. Apply undiluted vinegar to the affected areas, allow it to sit for several minutes, then scrub with a non-abrasive sponge or cloth. Rinse thoroughly with clean water and dry.
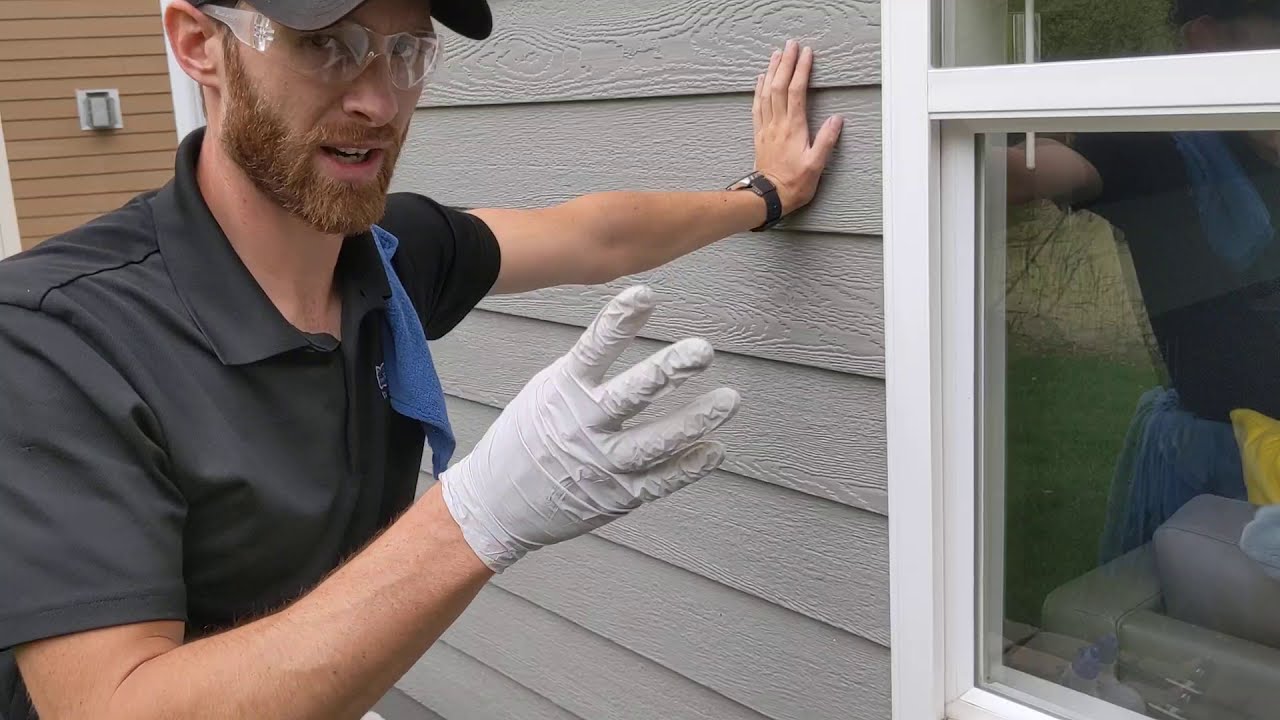
Is It Good To Use A Professional Window Cleaning Service?
Hiring a professional window cleaner offers numerous benefits, including convenience, expertise, and access to specialized equipment. Professional services are particularly valuable for cleaning hard-to-reach windows or for those who prefer to delegate this task.
Final Thoughts
Maintaining clean windows improves a home's overall appearance and offers a brighter, more pleasant living environment. Professional-quality outcomes can be achieved without the need for professional assistance by using the right instruments, mastering effective procedures, and selecting proper cleaning solutions.
Remember to prioritize safety, especially while cleaning windows from heights. With a little effort and the tips provided in this article, you may enjoy the clarity and brilliance of dazzling clean windows all year long.
You Might Also Like: How To Install A Window In A Blank Wall?