How To Replace Windows In A Brick Home [2025 Guide]
Replacing windows in a brick home requires careful planning and execution. Windows are vital for bringing natural light and ventilation into your home, while also enhancing its overall appearance. This guide provides a detailed step-by-step process for replacing windows in brick homes, considering the unique challenges and considerations involved.
This guide is designed to assist both homeowners and DIY enthusiasts in understanding the process, from the initial preparations to the final installation.
Why Replacing Windows In A Brick Home Is Unique
Brick homes have a distinct appeal due to their timeless beauty, durability, and excellent insulation properties. However, these features also present challenges during window replacement. Unlike other types of siding, brick is rigid, heavy, and unforgiving, leaving little room for error. Learning how to install windowsproperly in brick homes can help ensure a successful and secure fit.
Structural Integrity And Stability
When replacing windows in a brick home, it’s critical to maintain the structural stability of the wall. The brick surrounding the window opening provides both support and insulation, and any damage to the mortar or brickwork can compromise the wall's strength.
Aesthetic Preservation
Brick homes often have historical or architectural significance, making it essential to choose windows that complement the existing design. Mismatched windows can detract from the property’s character and potentially lower its value.
Energy Efficiency Considerations
While brick naturally provides excellent thermal mass, outdated windows may create weak points in insulation. Modern, energy-efficient windows can enhance thermal performance, reduce energy costs, and improve overall comfort in the home.
These considerations highlight the importance of precision and care during the replacement process.
Tools And Materials Needed
A successful window replacement requires the right tools, materials, and safety equipment. Having everything ready beforehand can save you time and reduce the risk of errors.
Essential Tools
- Pry Bars and Hammers: Used to remove the old window frame and trim carefully without damaging the surrounding brick.
- Power Drill with Masonry Bits: For drilling into the brick or framing to secure the new window.
- Utility Knife and Reciprocating Saw: Ideal for cutting through caulk, trim, or stubborn fasteners.
- Level and Measuring Tape: Ensures that the window is installed straight and snug.
- Caulk Gun: For applying sealant to create a watertight and airtight fit.
Materials Needed
- Flashing Tape: Protects the window opening from water infiltration.
- Insulation Foam: Used to fill gaps around the window frame for better insulation.
- High-Quality Silicone Caulk: Ensures a long-lasting, flexible seal.
- Mortar Repair Materials: Essential for fixing any chips or cracks in the brick or mortar.
Safety Gear
Protect yourself throughout the process by wearing work gloves, safety goggles, and a dust mask. This gear prevents injuries from sharp tools, debris, and masonry dust.

Preparing For The Replacement
Preparation is arguably the most crucial phase of window replacement. Skipping this step can lead to ill-fitting windows, structural damage, or water leaks.
Assessment Of Existing Windows
Begin by carefully inspecting the old windows. Look for signs of wear, such as:
- Cracks in the glass or frame
- Warped or rotted wooden frames
- Drafts or water damage around the window opening
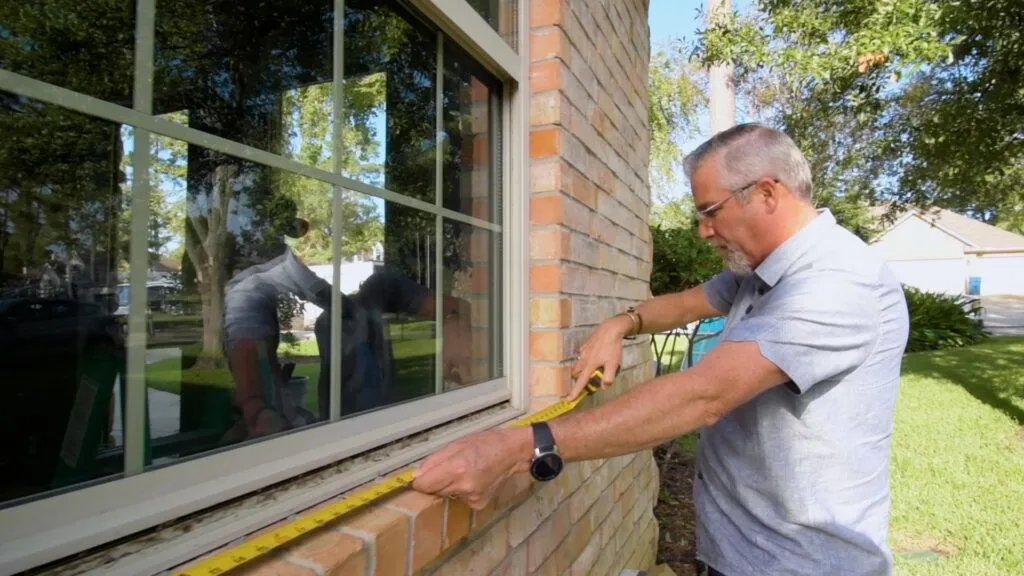
Measuring The Window Opening
Precision is key when working with brick. Measure the width, height, and depth of the opening from three points (top, middle, bottom) and use the smallest measurement to ensure the replacement fits snugly. Accurate measurements also prevent delays and additional costs.
Protecting Surrounding Areas
Brick homes are prone to chips or cracks during construction. Use painter's tape to protect the brickwork and cover interior spaces with drop cloths to catch debris. This minimizes cleanup and ensures no accidental damage occurs.
Step-by-Step Guide Directions
Step 1: Removing The Old Window
Removing the old window is a delicate process in brick homes.
- Begin by removing any interior or exterior trim around the window using a pry bar.
- Cut through the caulk or adhesive holding the frame in place using a utility knife.
- Gently loosen the window frame with a pry bar, taking care not to apply too much pressure on the surrounding brick.
- Remove the frame, sash, and any nails or screws, leaving a clean opening.
Pro Tip: If the window is painted shut or stuck, use a reciprocating saw to cut through stubborn areas.
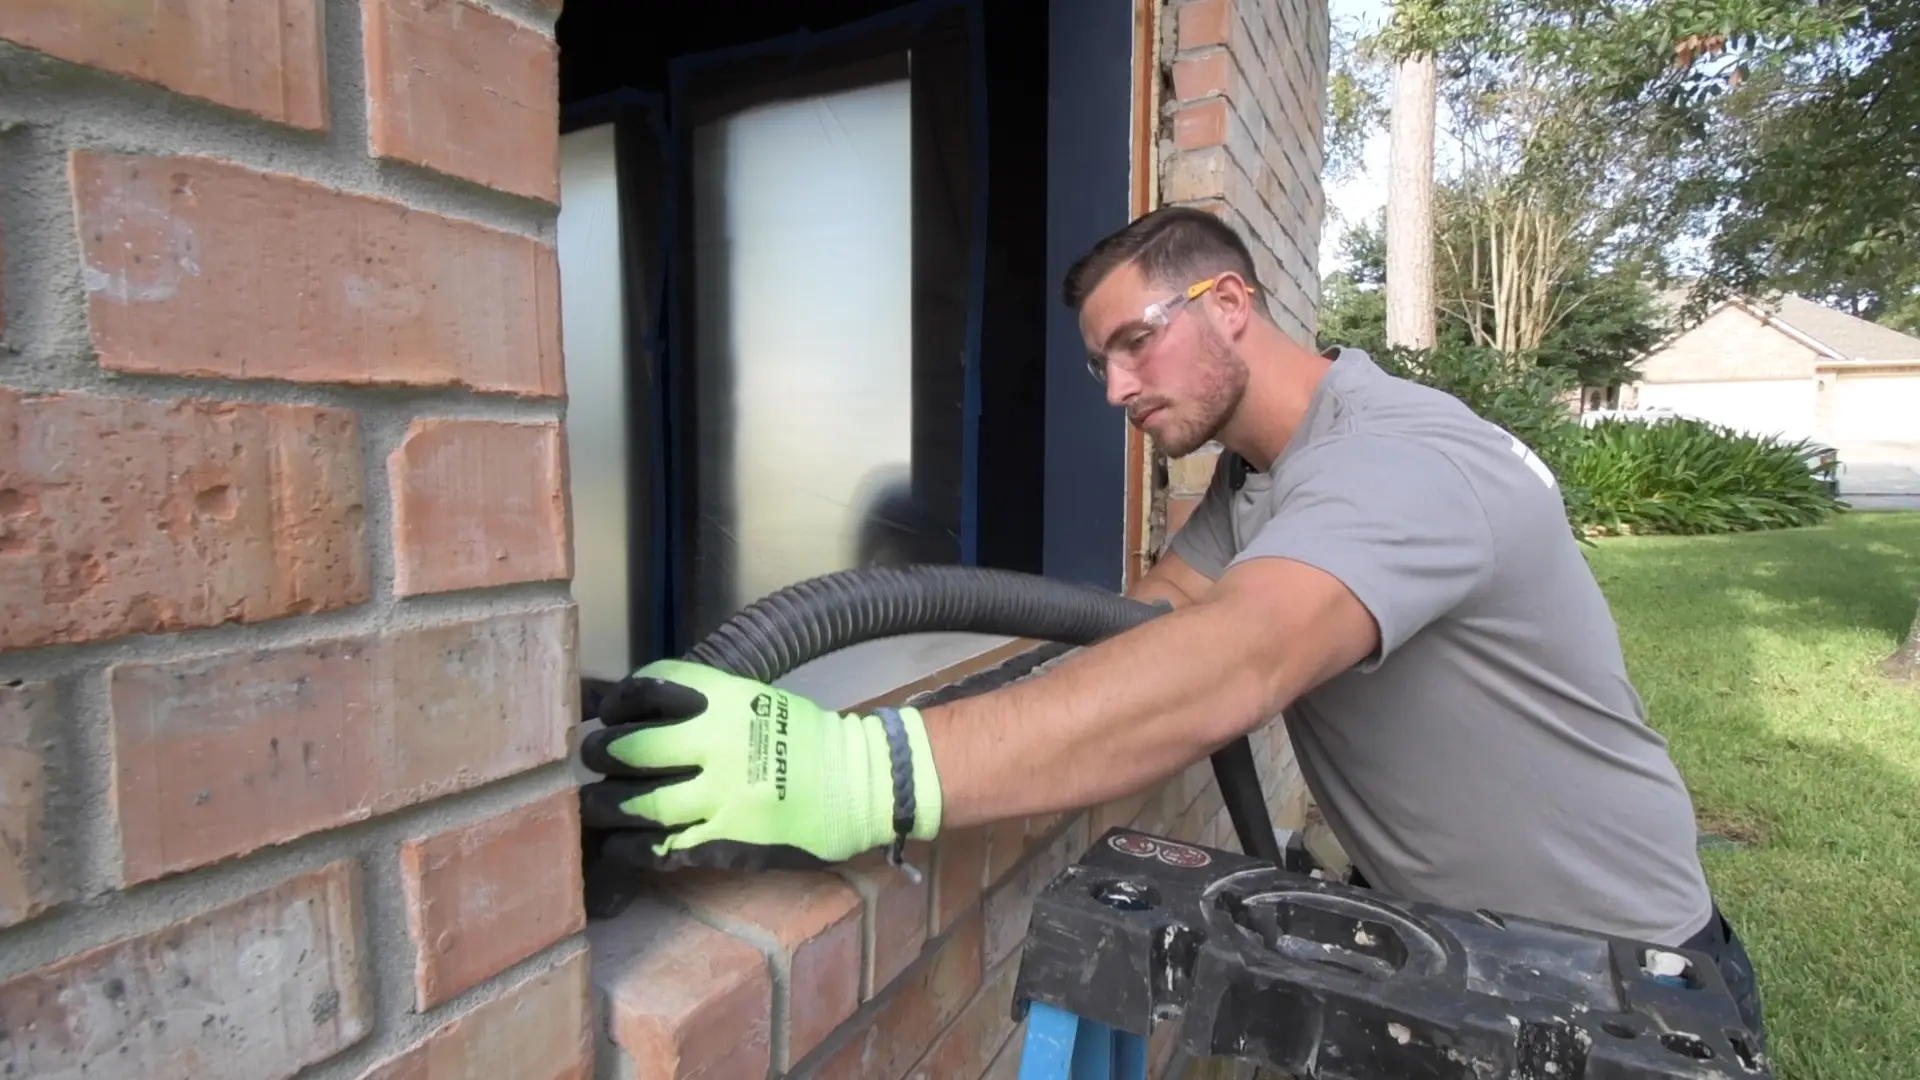
Step 2: Inspect And Prepare The Opening
Before installing the new window, inspect the opening for damage. Common issues include:
- Cracks in the Mortar: Repair these using a mortar mix to maintain the strength of the wall.
- Uneven Surfaces: Smooth out irregularities using a chisel or grinder.
Once repairs are complete, clean the opening of dust and debris. Apply a layer of flashing tape around the edges to create a water-resistant barrier.
Step 3: Installing The New Window
- Positioning: Place the window into the opening and check for alignment. Use a level to ensure it is perfectly straight both vertically and horizontally.
- Securing the Frame: Drill pilot holes into the brick or surrounding framing, and secure the window using screws. Ensure screws are evenly spaced for optimal stability.
- Checking for Fit: Test the window to ensure it opens, closes, and locks smoothly. Adjust shims or fasteners as needed.
Step 4: Sealing And Insulating
Proper sealing and insulation are vital for energy efficiency and weatherproofing.
- Use expanding foam to fill gaps between the window frame and the opening. This prevents drafts and improves insulation.
- Apply silicone caulkalong the edges of the frame to create a watertight seal. Smooth the caulk with a damp cloth for a clean finish.
Step 5: Final Adjustments And Cleanup
Remove protective tape from the brick and clean the area thoroughly. Inspect the window for any gaps or uneven areas. If all is well, proceed to reinstall the interior and exterior trim.
For a more complete knowledge, you can watch the full video here:
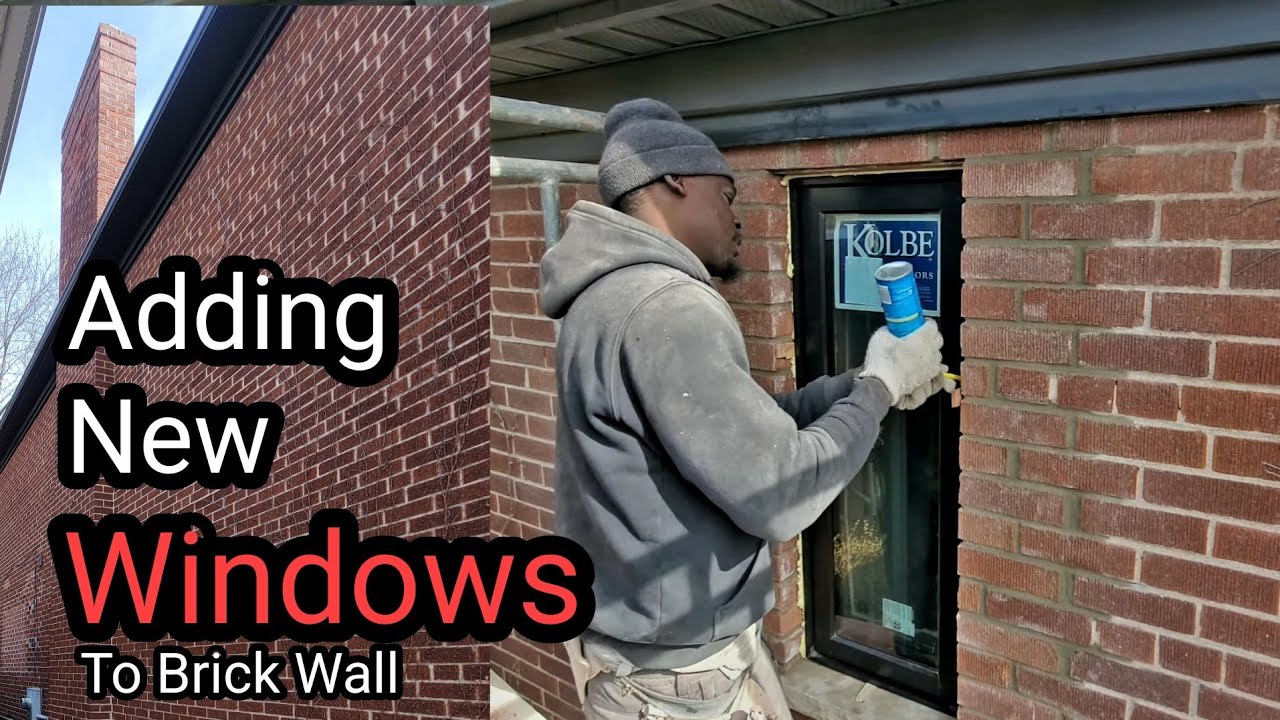
How To Cut and Add a new window In a Brick wall ,Step By Step ,DIY
Common Challenges And How To Overcome Them
1. Dealing With Damaged Brickwork
If the surrounding brick is chipped or cracked, use mortar repair mix to patch these areas before installation. For extensive damage, consult a professional.
2. Fitting Issues
If the new window is slightly too small, use backer rods and insulation to fill gaps. For oversized windows, resizing the opening may require specialized tools and expertise.
3. Weatherproofing Failures
Water leaks are a common issue in poorly sealed installations. Double-check flashing, caulk, and insulation to ensure a watertight fit. Regular window maintenancecan help identify and address these issues before they become major problems.
Professional Installation Vs. DIY
1. Experience And Expertise
Professional window installers have years of training and hands-on experience dealing with various home construction materials, including challenging brickwork. They are skilled in assessing potential issues that may not be immediately apparent to a DIY enthusiast, such as hidden structural damage, uneven window openings, or outdated framing techniques.
- Accurate Installation: Professionals ensure that the windows are perfectly aligned and sealed, preventing common problems such as drafts, water leaks, or operational difficulties.
- Specialized Tools and Techniques: Many components of window replacement in a brick home involve instruments like brick drills, flashing materials, and heavy-duty caulk guns. Professionals not only have access to these products but also know how to utilize them successfully.
- Problem-Solving: If unforeseen challenges arise during the installation, such as damaged brickwork or misaligned openings, an experienced installer can quickly adapt and resolve the issue without compromising the integrity of the structure.
2. Warranty And Peace Of Mind
One of the most significant benefits of hiring professionals is the warranty offered on their work.
- Labor Warranty: Many contractors provide a warranty that covers any issues resulting from installation errors, ensuring that you’re not left with costly repairs if something goes wrong.
- Manufacturer’s Warranty: Professional installation often ensures that the manufacturer's warranty on the window remains valid. Many manufacturers require certified installation for their warranties to apply, protecting your investment in the long term.
- Risk Reduction: With a professional handling the job, you avoid risks such as improperly installed windows, which can lead to drafts, water damage, or compromised energy efficiency.
3. Time Efficiency
Window replacement, especially in a brick home, can be a time-consuming and labor-intensive process for a DIYer. Professionals, on the other hand, have the expertise and manpower to complete the project quickly and efficiently.
- Streamlined Process: Professional teams follow a proven workflow that allows them to tackle even complex installations in a fraction of the time it would take an amateur.
- Minimized Disruption: With professionals on the job, you don’t have to deal with prolonged construction or a messy work environment. They often clean up the site thoroughly after completing the installation, leaving your home neat and ready to enjoy.
- Focus on Quality: By allowing experts to handle the job, you can focus your time and energy on other tasks, confident that the installation is being done to the highest standards.
4. Cost Vs. Value
While DIY installation may initially seem like a cost-saving option, it’s essential to weigh the potential risks and long-term expenses. Mistakes during installation can lead to costly repairs, reduced energy efficiency, and even damage to your home’s structure. Professional installers ensure that your windows are installed correctly, maximizing their lifespan and performance. The added value of a proper installation often outweighs the upfront cost of hiring a pro.
When To Choose DIY
DIY window replacement may be a viable option if you:
- Have prior experience with home improvement projects.
- Are confident in your ability to work with brick and specialized tools.
- Have the time to dedicate to careful preparation and execution.
For straightforward installations with minimal challenges, DIY can save you money and give you a sense of accomplishment. However, if the project involves multiple windows, intricate designs, or significant structural considerations, professional installation is strongly recommended. After completing the installation, enjoy some relaxation with the best garden gamesto unwind and make the most of your outdoor space.
FAQs
How Much Does It Cost To Replace Windows In A Brick Home?
The cost of replacing windows in a brick home varies depending on factors such as the type of window, labor costs, and whether you hire professionals or do it yourself. On average, professional installation can range from $500 to $1,500 per window, including materials and labor. DIY costs are lower but may still involve expenses for tools and materials.
Can I Replace Windows In A Brick Home Myself?
Yes, replacing windows yourself is possible if you have the right tools, skills, and patience. However, it can be challenging due to the rigid nature of brick walls and the need for precise measurements and proper sealing. For best results, consider hiring professionals, especially for large or complex projects.
How Long Does It Take To Replace Windows In A Brick Home?
For professional installations, replacing a single window typically takes 2–4 hours. Larger projects involving multiple windows may take 1–2 days. DIY replacements can take significantly longer, depending on your experience and the complexity of the project.
Do I Need A Permit To Replace Windows In A Brick Home?
Permit requirements vary by location. In some areas, replacing windows in a brick home may require a building permit, especially if structural changes are involved. Check with your local building authority to ensure compliance with regulations.
Conclusion
Replacing windows in a brick home needs precision, patience, and the proper tools. By carefully following the methods given here, you may improve your home's energy efficiency, attractiveness, and performance. When you undertake the work yourself or employ professionals, investing in high-quality windows will pay off for years to come.