How To Tint Windows At Home - 7 Simple Steps For A Professional Finish
Imagine stepping into your car on a sweltering summer day and feeling instant relief from the scorching heat. Or picture relaxing in your living room without the sun’s glare bouncing off your TV screen. These are just a few of the many benefits tinted windows offer.
While professional installation can be costly, achieving similar results at home is surprisingly attainable with the right approach. This comprehensive guide will equip you with the knowledge and techniques needed to confidently tint your windows, saving you money and enhancing your space.
Tinted windows aren't just about aesthetics; they offer a range of practical advantages. By following the detailed steps and expert tips outlined in this guide, you’ll discover how to transform your home or vehicle with professional-looking DIY window tinting.
Essential Tools And Materials For DIY Window Tinting
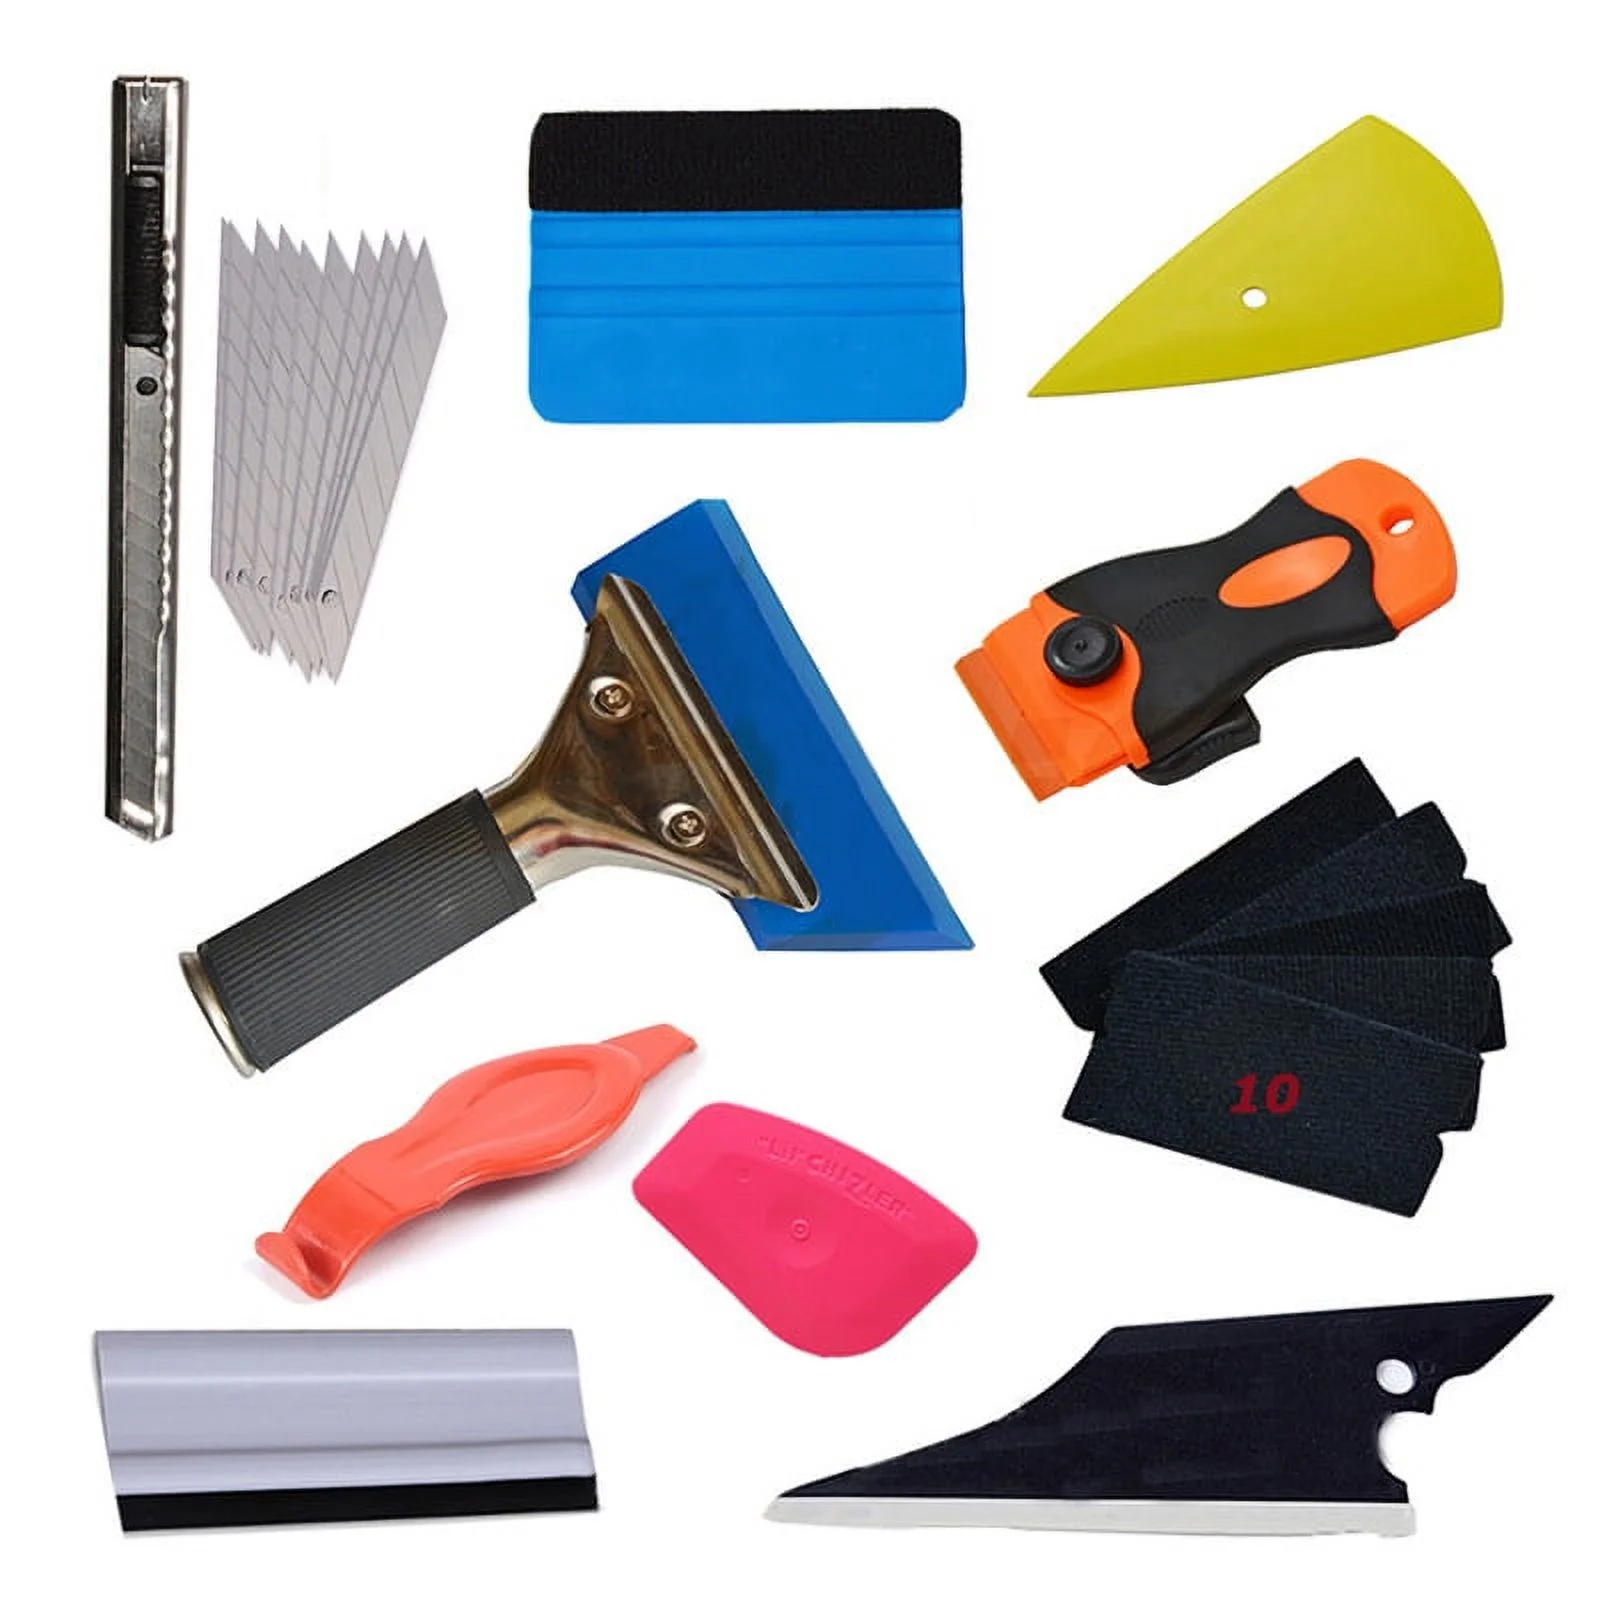
Before you start, make sure you have the right tools and materials. Here’s a list of essentials you’ll need to successfully tint your windows:
1. Window Film - Types And Options
There are various types of window films available on the market, including dyed, metalized, and ceramic films. Choose one based on your preferences, whether you want enhanced privacy, UV protection, or heat reduction.
- Dyed Film: The most common and cost-effective type, ideal for privacy and light reduction.
- Metalized Film: Offers better heat rejection and durability, but can sometimes interfere with signals (like Wi-Fi or phone reception).
- Ceramic Film: Known for superior heat rejection, UV protection, and clarity.
2. Application Tools
- Spray Bottle:For applying the slip solution.
- Slip Solution:A mixture of mild baby shampoo and water or a specialized application solution.
- Squeegee:A hard card squeegee for initial application and a soft rubber squeegee for final smoothing.
- Utility Knife or Razor Blade:For trimming excess film.
- Measuring Tape or Ruler:For accurate measurements.
- Microfiber Cloths:For cleaning and drying.
- Heat Gun (Optional but Recommended):For shrinking film on curved surfaces.
3. Cleaning Materials - Microfiber Cloths, Glass Cleaner
Before applying the tint, clean your windows thoroughly. Dust and dirt can create air bubbles under the film, leading to a less-than-perfect finish. Use a microfiber cloth and a glass cleaner to ensure your windows are spotless.
Step-by-Step Direction
Step 1: Preparing The Window
Preparation is key to ensuring a smooth application. If your windows are not properly cleaned, air bubbles or imperfections may form under the tint, ruining the finish. Here’s how to prepare your windows for tinting:
- Clean Thoroughly: Start by cleaning the window inside and out. Use a quality glass cleaner and a microfiber cloth to wipe down both sides of the glass. Ensure that there’s no dirt, dust, grease, or fingerprints on the window.
- Remove Old Residue: If there’s any old adhesive, dirt, or stickers left on the window, use a razor blade scraper to gently remove it. Be careful not to scratch the glass while doing this.
- Inspect for Imperfections: After cleaning, check the glass for any chips, cracks, or imperfections. These could affect the tinting process or the final result.
Tip:Make sure that the window is completely dry before proceeding to the next step. Any moisture can hinder the film's adhesion.
Step 2: Measuring And Cutting The Film
Correctly measuring and cutting the film is crucial for a smooth and even application. Here’s how to do it:
- Measure the Window: Measure the length and width of the window using a tape measure. Add an extra inch or two to each dimension to ensure that the film will cover the entire window with a little excess around the edges. This extra material allows you to trim the film neatly after application.
- Cut the Film: Lay the window film on a clean, flat surface. Use a sharp utility knife or a pair of scissors to cut the film to the measured size. It’s essential to cut the film in a straight line, so using a ruler as a guide helps ensure accuracy.
Tip: Be sure to cut the film from the protective liner side, not the adhesive side, to prevent accidental damage to the tint.
Step 3: Applying The Slip Solution
The slip solution (a mixture of water and a few drops of dish soap) is crucial for ensuring the film doesn’t stick immediately to the window, allowing you time to adjust its position before it dries. Here's how to apply it:
- Prepare the Slip Solution: Fill a spray bottle with water and add a few drops of dish soap(or a commercial slip solution, if available). Shake the bottle gently to mix the solution.
- Spray the Window and Film: Generously spray both the window surface and the adhesive side of the film with the slip solution. Make sure the entire surface of the window and the back of the film is thoroughly misted. This will allow the film to slide into place without sticking too early.
Tip:Use a generous amount of slip solution, but don’t overdo it. Too much solution can make the film difficult to adhere, while too little can lead to an uneven application.
Step 4: Applying The Film To The Window
This step requires care and precision to ensure the film adheres properly and doesn’t get creased. Here’s how to do it:
- Peel the Liner: Start by carefully peeling the protective backing liner off the tint film. As you peel, continue to spray the adhesive side with the slip solution to prevent the film from sticking to itself. It's important to work slowly to avoid any accidental folding or creasing.
- Position the Film: Once the backing is removed, position the film near the window and gently place it onto the wet surface. Use your fingers to adjust the alignment. Ensure the film is aligned properly with the window edges and that the extra material around the edges covers the entire window.
Tip:If the film sticks too quickly or becomes difficult to reposition, spray a little more solution to loosen it. Be careful not to allow the adhesive to come into contact with any other surfaces before it’s in place.
Step 5: Squeegeeing The Film
Squeegeeing is the most critical step in ensuring a smooth, bubble-free finish. Here’s how to do it:
- Start with the Hard Card Squeegee: Begin by using the hard card squeegee to push out the excess slip solution and air bubbles. Start from the center of the film and work your way out towards the edges. Use overlapping strokes to make sure all air is pushed out from underneath the film.
- Apply Firm, Even Pressure: As you squeegee, apply firm, even pressure. This helps to adhere the film smoothly to the glass and prevent any air pockets or wrinkles.
- Switch to the Soft Rubber Squeegee: After most of the slip solution has been removed, switch to a soft rubber squeegee. Use it for the final passes to remove any remaining water or air bubbles. This will help you achieve a smooth and flawless finish.
Tip:Keep a microfiber cloth nearby to wipe off excess water from the film and squeegee as you go. This will prevent water from pooling up and causing streaks.
Step 6: Trimming Excess Film
Once the film is applied and squeegeed, it’s time to trim off any excess film that extends beyond the window edges. Here's how to trim carefully:
- Use a Sharp Utility Knife: Take your sharp utility knife or razor blade and carefully trim the edges of the film. Cut along the window edge, removing the excess film for a clean, straight line.
- Use a Ruler or Straight Edge: For precise, straight cuts, use a ruler or straight edge as a guide. This will help you maintain a clean cut along the window perimeter.
Tip:Be gentle when trimming the film to avoid damaging the tint or scratching the glass. Take your time to ensure a neat finish.
Step 7: Final Squeegeeing And Inspection
After trimming the film, do a final check to ensure everything is applied correctly. Here’s what to do:
- Final Squeegee: Perform one last squeegee to remove any remaining water or air bubbles that may have formed during the trimming process. Use gentle pressure to ensure a smooth surface.
- Inspect for Imperfections: Look closely at the film for any imperfections, air bubbles, or creases. If you notice any small bubbles, gently work them out with the squeegee.
- Use a Heat Gun (Optional): If there are stubborn air bubbles or if the film is not conforming to curved edges, use a heat gun on a low setting to gently heat the film. This will make it more pliable and easier to mold to the window's shape. Be cautious and don’t overheat the film, as it could cause it to peel or warp.
Tip:Allow the film to fully dry and adhere for at least 24 hours before rolling the windows down or cleaning them. This gives the adhesive time to set properly.
Visual learners, rejoice! We've created a comprehensive video tutorial that walks you through every step of the DIY window tinting process. Click below to watch and see how it's done.
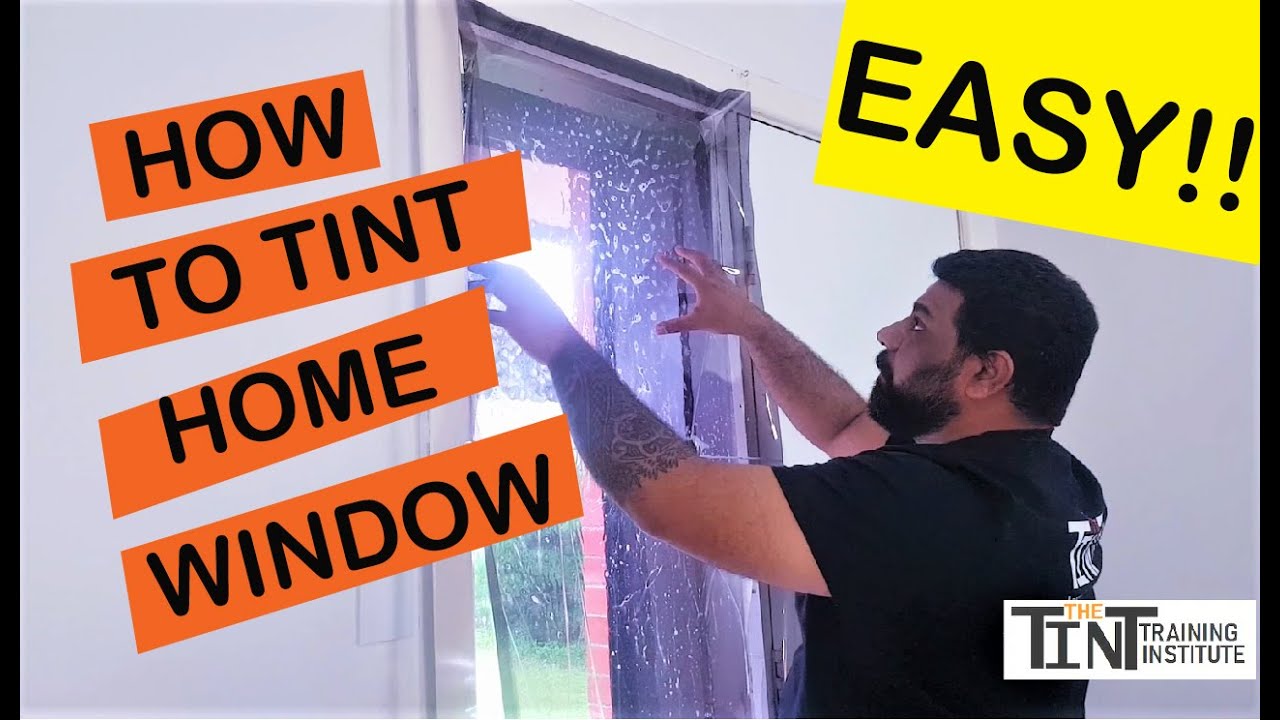
Learn To Tint Home & Office Windows Like A Pro
Tips And Tricks For Achieving Professional Results
These tips will help you achieve a flawless finish:
- Work in a clean, dust-free environment to prevent debris from getting trapped under the film.
- Use a heat gun cautiously to avoid damaging the film or the window. Move the heat gun in a sweeping motion and avoid holding it in one spot for too long.
- Patience is key. Take your time and focus on each step.
- For small bubbles, try gently pushing them to the edge with your finger or a squeegee. Larger bubbles may require a pin prick and careful squeegeeing.
- Allow the film to dry completely (several hours or even overnight) before cleaning the windows.
10 Key Benefits Of Window Tinting
1. Improved Privacy
Window tinting helps to enhance privacy by making it harder for people to see inside your vehicle or home. It reduces the visibility into your space, offering a sense of security and comfort, especially when you're parked or inside your home. If you're considering enhancing your privacy further, you might also want to look into options to repair home windows, which can improve both aesthetics and functionality.
2. UV Protection
Tinted windows block up to 99% of harmful ultraviolet (UV) rays from the sun. This helps protect your skin from premature aging, sunburns, and reduces the risk of skin cancer. It also protects your interior from UV damage, such as fading upholstery and cracking dashboards.
3. Heat Reduction
Window tinting can reduce the amount of solar heat entering a vehicle or building. This helps to maintain a cooler temperature inside, making the environment more comfortable and reducing the reliance on air conditioning, which in turn lowers energy costs.
4. Glare Reduction
The tint helps to reduce glare from the sun and headlights, making driving safer and more comfortable. This is particularly beneficial for drivers who are frequently on the road during the day or at night when streetlights or headlights can be distracting.
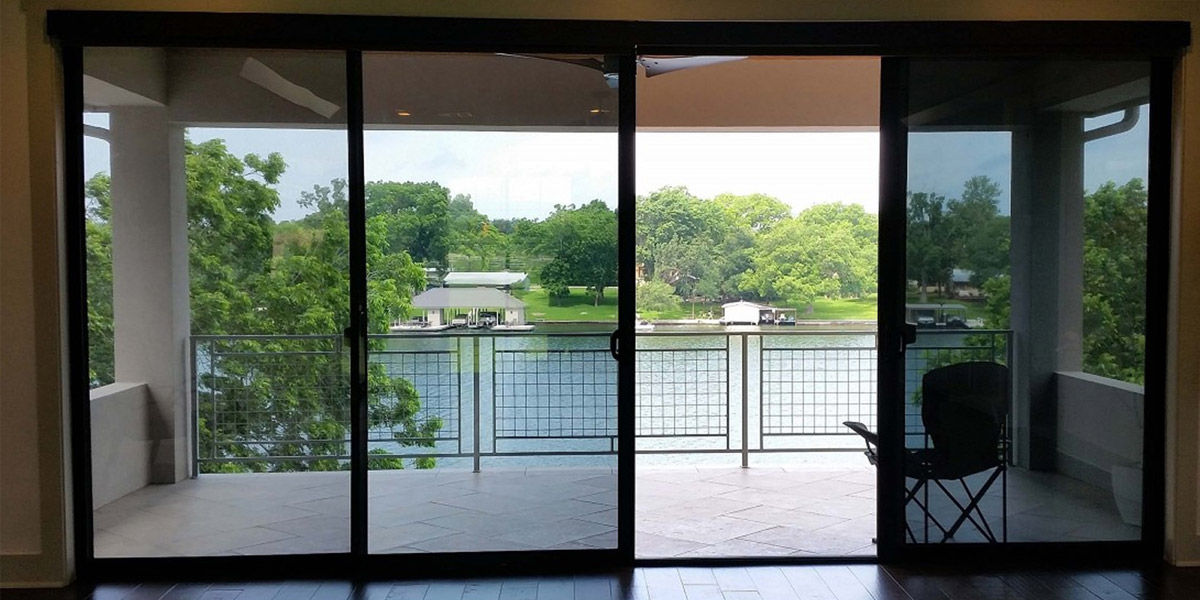
5. Enhanced Aesthetic Appeal
Tinted windows give a sleek, modern, and uniform look to both cars and buildings. They can enhance the overall appearance of your vehicle, adding a stylish touch, and can also complement the design of your home or office, giving it a polished, finished look.
6. Shatter Resistance
Window tinting strengthens the glass, making it more resistant to breakage. In the event of an accident or impact, tinted windows can help hold shattered glass in place, reducing the risk of injury from flying glass shards.
7. Increased Security
The added layer of window tint can make it more difficult for thieves to see valuable items inside your vehicle or home, which can deter theft. Additionally, in the event of a break-in, the film may help to delay access to your property by keeping the window intact longer.
8. Better Temperature Control
Tinting helps maintain a more consistent indoor temperature by blocking heat and reducing the need for excessive air conditioning in the summer or heating in the winter. This helps improve energy efficiency in both homes and vehicles.
9. Reduced Fading Of Interiors
Sunlight exposure can cause furniture, carpets, upholstery, and other materials to fade over time. Window tinting blocks a significant amount of UV rays, which helps protect the interiors from discoloration and damage, prolonging their lifespan.
10. Improved Comfort And Safety While Driving
Tinted windows create a more comfortable driving environment by reducing interior heat and glare, which leads to less eye strain and a more relaxed driving experience. This can help improve focus on the road, reducing the chances of accidents caused by distractions or discomfort.
How To Maintain Your Tinted Windows
Proper care and maintenance are key to extending the life and appearance of your tinted windows. Follow these tips to ensure that your tint stays in top condition for years to come:
1. Clean With Gentle Tools
Always clean tinted windows using a soft microfiber clothor a non-abrasive towel. This helps avoid scratching or damaging the tint. Avoid using rough materials such as paper towels or sponges, as they may cause fine scratches on the surface.
2. Use A Mild Soap And Water Solution
To clean your tinted windows, use a mild soap mixed with water. This simple solution will effectively clean the windows without causing any harm to the tint. Avoid using strong cleaning agents that can break down the film over time.
3. Avoid Harsh Chemicals
Refrain from using harsh chemicals or abrasive cleaners on tinted windows. Substances like bleach, strong solvents, or industrial cleaners can cause the film to degrade and lose its effectiveness. Stick to gentle, non-toxic cleaners.
4. Steer Clear Of Ammonia-Based Products
Ammonia is a common ingredient in many household cleaners, but it can cause significant damage to window tint. Always avoid ammonia-based products, as they can weaken the adhesive that holds the tint in place, leading to peeling or bubbling.
5. Wait Before Cleaning Newly Tinted Windows
If you’ve just had your windows tinted, it’s essential to wait for a period before cleaning them. Typically, it's recommended to wait at least 3-5 days to allow the tint to fully dry and cure. Cleaning them too soon could interfere with the adhesion process and affect the tint's longevity.
6. Use A Non-Abrasive Squeegee For Drying
After cleaning your windows, use a non-abrasive squeegee to remove any excess water. This helps avoid water spots and ensures the window is thoroughly dried without causing damage to the tint.
7. Inspect For Damage Regularly
Regularly inspect the tinted windows for any signs of peeling, bubbling, or discoloration. If you notice any issues, it’s best to address them promptly to prevent further damage. For optimal results, regular window maintenanceis key to ensuring your tint stays in great condition. Consult a professional if the tint requires repair or replacement.
FAQs
What Type Of Window Film Is Best?
The best type depends on your specific needs and budget. Ceramic films offer the best heat rejection and UV protection, while dyed films are the most affordable.
How Long Does The Tint Last?
Tinted windows typically last anywhere from 5 to 10 years, depending on the type of film and how well it’s maintained.
How Do I Remove Old Window Tint?
Use a heat gun to soften the adhesive and then peel the film off. Use a razor blade scraper and adhesive remover to remove any remaining residue.
Final Words
Tinting your windows at home is a cost-effective and rewarding way to enhance the comfort, privacy, and efficiency of your living space. With the right tools, a bit of patience, and some attention to detail, you can achieve professional-looking results without the high costs. Just remember to take your time, follow the steps above carefully and enjoy the benefits of your newly tinted windows.